Are you ready to turn up the volume on your audio experience? Look no further than the world of DIY electronics kits for building audio amplifiers.
These kits offer a gateway to a whole new level of sound quality and customization. With step-by-step instructions and all the necessary components included, you can dive into the world of electronics with ease.
But that's not all – these kits also provide options for personalizing your sound and troubleshooting any issues that may arise.
So, why settle for average audio when you can elevate your listening experience to new heights?
Key Takeaways
- DIY electronics kits for building audio amplifiers offer cost savings compared to buying pre-built amplifiers.
- Building audio amplifiers from DIY kits provides a deeper understanding of electronics and circuitry.
- DIY electronics kits allow for customization and personalization of the amplifier.
- Building audio amplifiers from DIY kits can be a fun and educational hobby.
Benefits of DIY Electronics Kits
There are several key benefits to using DIY electronics kits for audio amplifiers.
One of the main advantages is the cost savings. By purchasing a kit and assembling the amplifier yourself, you can save a significant amount of money compared to buying a pre-built amplifier from a store. The cost of the components in the kit is often much lower than the retail price of a finished product, allowing you to get a high-quality amplifier at a fraction of the cost.
Another benefit of using DIY electronics kits is the learning experience they provide. Building an audio amplifier from scratch allows you to gain a deeper understanding of how the electronic components work together to produce sound. You'll also learn valuable skills such as soldering, circuit board assembly, and troubleshooting. This hands-on experience can be incredibly rewarding and empowering, as you become more proficient in the art of electronics.
In addition to the cost savings and learning experience, DIY electronics kits offer the freedom to customize your amplifier to suit your specific needs and preferences. You can choose different components to achieve the desired sound quality, experiment with different circuit designs, and even add additional features or modifications. This level of freedom allows you to create a truly unique amplifier that reflects your personal taste and style.
Components Included in the Kits
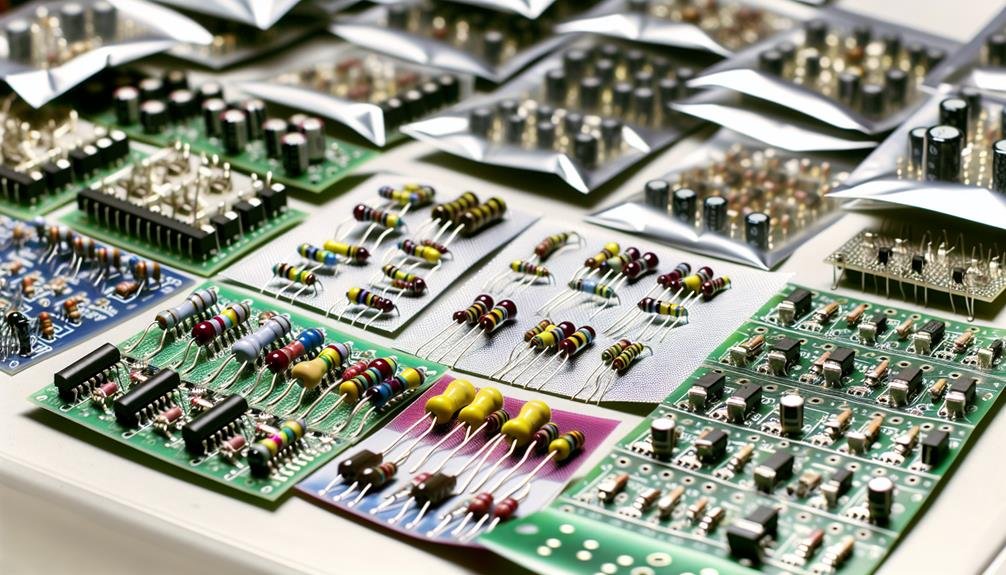
Included in DIY electronics kits for audio amplifiers are a variety of components that are essential for building a functional amplifier. These kits are designed to provide you with everything you need to create your own audio amplifier from scratch. The components included in these kits are of utmost importance as they directly impact the performance and sound quality of the amplifier. Therefore, it's crucial to pay attention to the quality of these components to ensure optimal results.
Here are some common components that you can expect to find in DIY electronics kits for audio amplifiers:
- Resistors: These components are used to control the flow of current within the amplifier circuit. It's important to choose resistors with the correct resistance value to achieve the desired performance.
- Capacitors: Capacitors store and release electrical energy, helping to smooth out voltage fluctuations. High-quality capacitors are essential for maintaining audio fidelity and preventing distortion.
- Transistors: Transistors are responsible for amplifying the audio signal. It's important to select transistors that can handle the power requirements of your amplifier.
- Potentiometers: Potentiometers, also known as pots, are used to control the volume and tone of the amplifier. Choosing pots with a smooth and precise response is crucial for a satisfying user experience.
To ensure a successful assembly, it's important to avoid common mistakes such as incorrect component orientation, poor soldering techniques, and using components that aren't compatible with each other. Careful attention to detail and following the provided instructions will help you avoid these pitfalls and achieve an amplifier that meets your expectations.
Step-by-Step Assembly Instructions
To successfully assemble your DIY electronics kit for an audio amplifier, follow these step-by-step instructions to ensure precise component placement and proper soldering techniques.
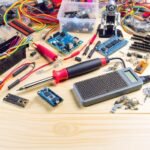
Start by gathering the recommended tools and equipment, which include a soldering iron, solder, wire cutters, needle-nose pliers, and a multimeter. These tools will help you navigate the assembly process with ease.
Begin by identifying the components included in your kit and familiarizing yourself with their functions. It's crucial to handle the components with care, avoiding static electricity and potential damage. Double-check the component values and ensure they match the instructions provided.
Next, carefully place the components onto the circuit board, following the designated locations outlined in the assembly manual. Take your time and pay close attention to the orientation of polarized components, such as capacitors and diodes.
When it comes to soldering, ensure your soldering iron is properly heated to avoid cold solder joints. Apply the solder to the joint, creating a smooth, shiny connection. Avoid excessive solder, as it can lead to bridges between adjacent components.
Throughout the assembly process, be mindful of common assembly mistakes, such as misplacing components or applying excessive heat, which can damage the circuit board. Regularly check your work using a multimeter to verify proper connections and continuity.
Customization Options for Personalized Sound
For a personalized sound experience, consider exploring the various customization options available for your DIY audio amplifier kit. With the ability to adjust settings and experiment with different components, you can truly tailor your amplifier to meet your unique preferences. Here are some options to consider:
- Equalizer Settings: Adjusting the equalizer settings allows you to fine-tune the balance of bass, midrange, and treble frequencies to suit your particular taste. Whether you prefer a punchy bass or a more balanced sound, the equalizer gives you the freedom to customize the audio output.
- Component Upgrades: Experimenting with different components, such as capacitors, resistors, and transistors, can significantly impact the sound quality of your amplifier. Upgrading these components to higher quality options can enhance clarity, reduce distortion, and improve overall performance.
- Input and Output Options: Some DIY amplifier kits offer the flexibility to choose between different input and output options. Whether you want to connect your amplifier to a turntable, a CD player, or a digital source, having the freedom to choose the right connections for your setup is essential.
- Tone Control: Many DIY amplifier kits include tone control options, allowing you to adjust the tonal characteristics of the audio output. Whether you prefer a warm, vintage sound or a more modern, crisp tone, the ability to fine-tune the tonal qualities of your amplifier can make a significant difference in your listening experience.
Tips for Troubleshooting and Fine-Tuning
When troubleshooting and fine-tuning your DIY audio amplifier kit, it's important to carefully analyze and adjust various components and settings to optimize its performance.
One of the most common amplifier issues is distortion. If you notice distortion in the sound output, check the input signal level and adjust it accordingly. Excessive gain can also cause distortion, so make sure to set the gain at an appropriate level.
Another common issue is noise. To reduce noise, check the grounding connections and make sure they're secure. You can also try shielding the amplifier circuitry from external electromagnetic interference.
Additionally, adjusting the biasing of the amplifier can improve its performance. The biasing current should be set to the recommended value for your specific amplifier kit.
Fine-tuning the amplifier can be done by adjusting the tone controls, such as bass, treble, and balance, to achieve the desired sound characteristics. Experimenting with different speaker placements and room acoustics can further optimize the performance of your DIY audio amplifier.
Related posts:
 The Ultimate Guide to Building DIY Electronics Kits
 Beginner's Guide to Building Circuits With DIY Electronics Kits
 Best DIY Electronics Kits for Building Robots
 DIY Electronics Kits for Building Wearable Technology
 DIY Electronics Kits for Building Solar-Powered Gadgets
 DIY Electronics Kits Vs. Pre-Built Electronics: Which Is Better?