They say, 'Rome wasn't built in a day.' Well, the same can be said about your journey into the world of DIY electronics. Whether you're a complete beginner or someone with a little experience, building circuits with DIY electronics kits can be an exciting and rewarding endeavor.
But where do you start? How do you make sense of all those components and wires? In this discussion, we'll guide you through the fundamentals of circuit building, help you choose the right DIY electronics kit, and provide you with the tools and step-by-step process you need to get started.
So, if you're ready to embark on a journey of discovery and creation, let's dive in and unlock the secrets of building circuits with DIY electronics kits.
Key Takeaways
- Basic circuit components include resistors, capacitors, inductors, and diodes.
- Circuit symbols and diagrams are used to represent components visually.
- Choosing the right DIY electronics kit depends on your skill level and project requirements.
- Essential tools for circuit building include a soldering iron, multimeter, breadboard, wire cutters, strippers, and screwdrivers.
Understanding the Basics
To build circuits successfully, it's crucial to have a solid understanding of the basics, including the fundamental principles and components involved in electronics.
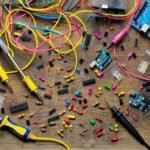
Basic circuit components are the building blocks of any electronic circuit. These components include resistors, capacitors, inductors, and diodes. Resistors limit the flow of electrical current, while capacitors store electrical energy. Inductors resist changes in current flow, and diodes allow current to flow in only one direction.
Circuit symbols and diagrams are essential tools for understanding and designing circuits. Symbols are used to represent different components in a circuit diagram, providing a visual representation of how the components are connected. For example, a resistor is represented by a zigzag line, while a capacitor is represented by two parallel lines.
Choosing the Right DIY Electronics Kit
Now that you have a solid understanding of the basics and the components involved in electronics, it is time to move on to choosing the right DIY Electronics Kit. With so many options available, it can be overwhelming to decide which kit is the best fit for your needs. To help you make an informed decision, let's explore the different types of kits and do a cost comparison.
| Kit Type | Description | Cost |
|---|---|---|
| Starter Kit | Ideal for beginners, these kits provide a comprehensive introduction to electronics. They usually include a variety of components and a detailed guide to get you started. | $20 – $50 |
| Project Kit | These kits are designed for individuals who want to build specific projects, such as a digital thermometer or a light-sensitive alarm. They come with all the necessary components and instructions. | $30 – $100 |
| Advanced Kit | If you have some experience with electronics, an advanced kit offers more complex projects and components. These kits are perfect for those looking to expand their skills and knowledge. | $100 – $200 |
When considering the cost, keep in mind that the prices provided are general estimates and may vary depending on the brand and retailer. Additionally, it's important to factor in any additional tools or equipment you may need to complete the projects.
Tools and Equipment You'll Need
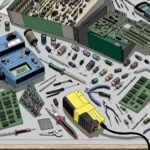
Gather the necessary tools and equipment to successfully build circuits using DIY electronics kits. To ensure a smooth and efficient circuit-building process, you'll need a few essential tools.
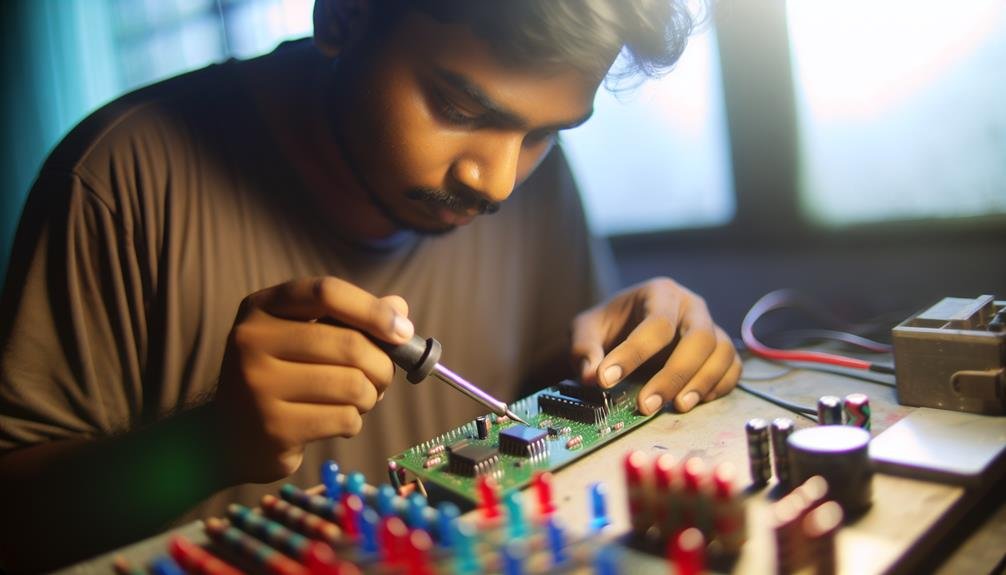
First and foremost, a soldering iron is crucial for connecting components. Choose one with adjustable temperature settings to accommodate different soldering techniques and ensure strong and reliable connections. Additionally, soldering wire and flux are necessary for soldering components onto the circuit board.
Next, you'll need a multimeter to measure voltage, current, and resistance in your circuits. This tool is essential for troubleshooting and verifying the functionality of your designs.
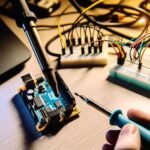
A breadboard is another invaluable tool for prototyping and testing circuit designs. It allows you to easily connect and disconnect components without the need for soldering, making it ideal for experimenting and refining your circuit design principles.
Other tools you'll find handy include wire cutters, wire strippers, and needle-nose pliers for cutting, stripping, and bending wires respectively. A set of screwdrivers, both flathead and Phillips, will come in handy for adjusting and securing components.
Step-by-Step Circuit Building Process
Before diving into the step-by-step circuit building process, it's important to ensure you have all the necessary tools and equipment from the previous subtopic. Now that you have everything you need, let's explore the different types of circuits and learn about circuit components and their functions.
Firstly, it's crucial to understand the various types of circuits you can build. Some common circuit configurations include series circuits, parallel circuits, and combination circuits. Series circuits have components connected in a single path, whereas parallel circuits have components connected in multiple paths. Combination circuits are a mix of series and parallel circuits. Each type of circuit has its own advantages and applications, so it's important to choose the appropriate circuit configuration based on your desired outcome.
Secondly, let's delve into circuit components and their functions. Components such as resistors, capacitors, and diodes play critical roles in a circuit's operation. Resistors regulate the flow of current, capacitors store electrical energy, and diodes allow current to flow in one direction. Understanding how these components work and interact with each other is essential for successful circuit building.
Troubleshooting Common Issues
To effectively troubleshoot common issues when building circuits, it is important to follow a systematic approach and utilize proper testing techniques. By doing so, you can quickly identify and resolve any problems that may arise during the circuit building process. Here are some common circuit problems and effective troubleshooting techniques to help you overcome them:
| Common Circuit Problems | Effective Troubleshooting Techniques |
|---|---|
| Loose connections | Check all connections and ensure they are securely fastened. |
| Short circuits | Look for any unintended connections between different circuit elements. Use a multimeter to measure resistance and isolate the short circuit. |
| Incorrect component values | Double-check that you have used the correct components with the right values. Verify resistor color codes and component markings. |
| Power supply issues | Verify that your power supply is functioning correctly and providing the required voltage. Check for any loose connections or faulty components. |
| Component failure | Test suspect components individually using a multimeter. Replace any faulty components with new ones. |
Related posts:
 The Ultimate Guide to Building DIY Electronics Kits
 How to Build a DIY Electronics Kit for Beginners
 How to Choose the Best DIY Electronics Kit for Beginners
 Beginner's Guide to Programming With DIY Electronics Kits
 Best DIY Electronics Kits for Building Robots
 DIY Electronics Kits for Building Solar-Powered Gadgets