Did you know that over 50% of people who purchase DIY electronics kits never actually turn them into functional devices? It's true, many people get excited about the idea of building their own electronic gadgets, only to leave the kits gathering dust on their shelves.
But fear not, because in this discussion, we will guide you through the process of transforming your DIY electronics kit into a fully functional device. From choosing the right kit to customizing and enhancing your creation, we will provide you with the knowledge and tips you need to bring your electronics project to life.
So, if you're ready to unlock the full potential of your DIY kit, let's get started.
Key Takeaways
- Consider technical requirements, desired functionalities, and the level of complexity suitable for your skills when choosing a DIY electronics kit.
- Understand the components of your kit by exploring different circuit configurations and identifying the role of individual components.
- Follow instructions carefully when assembling your DIY electronics kit, and test the circuit board for faults or errors using a multimeter.
- Test and troubleshoot your device by checking for loose connections, identifying faulty components or circuits, verifying the power supply, and debugging code if necessary.
Choosing the Right DIY Electronics Kit
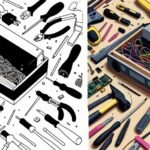
To ensure you select the most suitable DIY electronics kit, it's crucial to consider the specific technical requirements and desired functionalities of your project. Start by identifying the tools you'll need for your project. Look for kits that provide the necessary tools, such as soldering irons, wire cutters, and multimeters. This will save you the hassle of having to purchase them separately.
Next, consider the level of complexity you're comfortable with. Some kits are designed for beginners, while others are more advanced. If you're new to electronics, it's advisable to start with a beginner-friendly kit that provides step-by-step instructions and support.
Another important factor to consider is the type of project you want to pursue. Different kits cater to different project ideas, so take the time to explore the available options. Are you interested in building a robot, a weather station, or a home automation system? By selecting a kit that aligns with your project idea, you can ensure that you have all the necessary components and instructions to bring your vision to life.
Lastly, look for kits that offer flexibility and room for customization. This will allow you to tweak the project to suit your specific needs and preferences. Remember, the freedom to explore and experiment is an essential part of the DIY experience, so choose a kit that allows for creativity and personalization.
Understanding the Components of Your Kit
Understanding the components of your DIY electronics kit is essential for successfully assembling and using your device. Here are four key aspects to consider when delving into the world of DIY electronics:
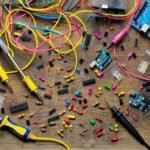
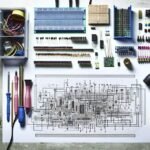
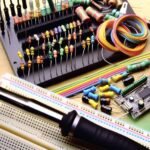
- Sourcing components for your DIY electronics kit: Before you embark on your project, it's crucial to gather all the necessary components. These can be obtained from various sources, including online marketplaces, local electronics stores, or even salvaging from old devices. Ensure that you have the correct specifications and quantities to avoid any setbacks during the assembly process.
- Exploring different circuit configurations in your DIY electronics kit: Your DIY electronics kit may come with a variety of circuit configurations for you to experiment with. Understanding these configurations will allow you to customize and optimize your device's functionality. Take the time to study the provided documentation or conduct further research to grasp the intricacies of each circuit configuration.
- Identifying and understanding the role of individual components: Your kit will include various components such as resistors, capacitors, transistors, and integrated circuits. Familiarize yourself with the purpose and function of each component to ensure they're correctly installed and connected. This knowledge will also help you troubleshoot any issues that may arise during the assembly or operation of your device.
- Proper handling and storage of components: To maintain the longevity and functionality of your components, it's important to handle and store them properly. Avoid static electricity by grounding yourself before handling sensitive components. Additionally, store your components in a cool, dry place away from direct sunlight to prevent damage or degradation.
Assembling Your DIY Electronics Kit
Once you have familiarized yourself with the components of your DIY electronics kit, you can begin the process of assembling your functional device.
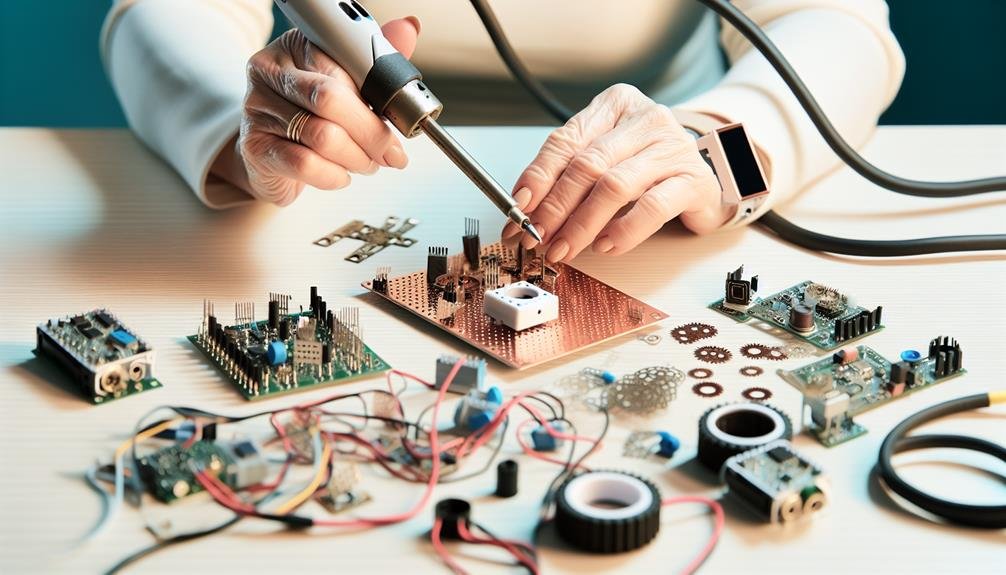
The first step in assembling your DIY electronics kit is to carefully read the instructions provided. These instructions will guide you through the process of circuit board assembly and soldering techniques.
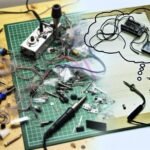
To start, lay out all the components on a clean, well-lit workspace. Make sure you have all the necessary tools, such as a soldering iron, solder, wire cutters, and a multimeter for testing. It's crucial to follow safety precautions while soldering, such as wearing safety goggles and working in a well-ventilated area.
Begin by placing the components onto the circuit board according to the instructions. Double-check that each component is correctly aligned with its designated spot on the board. Once all the components are in place, it's time to solder. Apply a small amount of solder to the tip of the soldering iron and then touch it to the joint where the component meets the circuit board. The solder will melt and create a strong bond between the component and the circuit board. Be careful not to apply too much solder, as it can cause shorts or damage the components.
After soldering all the components, it's important to test the circuit board for any faults or errors. Use a multimeter to check for proper connections and ensure that there are no shorts or open circuits. Fix any issues that you find and retest until the board is fully functional.
Testing and Troubleshooting Your Device
Now that you have successfully assembled your DIY electronics kit, it's time to put your device to the test and troubleshoot any potential issues. Testing and troubleshooting are crucial steps in ensuring that your device functions properly and meets your expectations.
Here are some common troubleshooting techniques and testing issues to consider:
- Check for loose connections: Ensure that all wires and components are securely connected. Loose connections can cause malfunctioning or non-functioning of your device.
- Use a multimeter: A multimeter is a versatile tool that can measure voltage, current, and resistance. It can help you identify any faulty components or circuits in your device.
- Verify power supply: Make sure that your device is receiving the correct power supply. Insufficient or fluctuating power can lead to performance issues.
- Debugging code: If your device includes programming, carefully inspect the code for any syntax errors or logical flaws. Debugging tools and techniques can help identify and resolve these issues.
Customizing and Enhancing Your Functional Device
To customize and enhance your functional device, you can explore various modifications and upgrades to optimize its performance and expand its capabilities.
Improving the performance of your device can be achieved by upgrading its components. For example, you can replace the standard microcontroller with a more powerful one, or upgrade the memory to handle larger data sets.
Adding additional features to your device can also greatly enhance its functionality. This can be done by integrating sensors to gather more data, or by incorporating wireless communication modules to enable remote control or data transfer.
Additionally, you can customize the user interface by adding a touchscreen display or implementing voice control capabilities.
To expand the capabilities of your device, you can integrate it with other systems or devices, such as a home automation system or a smartphone app. This allows for seamless integration and control, giving you the freedom to interact with your device in a way that suits your needs.
Related posts:
 How to Build a DIY Electronics Kit for Beginners
 How to Choose the Best DIY Electronics Kit for Beginners
 How to Design Your Own DIY Electronics Kit
 Best Ways to Customize Your DIY Electronics Kit
 DIY Electronics Kits Vs. Pre-Built Electronics: Which Is Better?
 DIY Electronics Kits Vs. Pre-Assembled Products: Which Is Better?