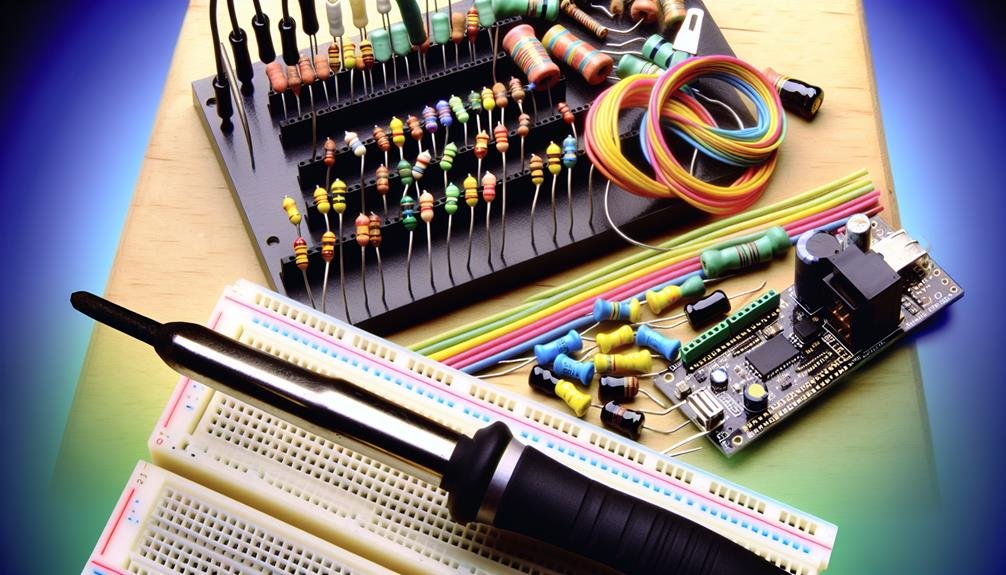
Like a blank canvas waiting to be transformed into a masterpiece, your DIY electronics kit holds endless possibilities for customization.
Whether you're a seasoned enthusiast or just starting out, there are countless ways to make your kit truly unique and tailored to your preferences.
From sleek custom enclosures that make your creation stand out, to upgrading components for enhanced performance, the world of customization is at your fingertips.
But that's just scratching the surface. With the addition of LEDs and other visual effects, the ability to incorporate wireless connectivity for remote control, and the opportunity to experiment with advanced circuitry and programming techniques, the potential for personalization is boundless.
So why settle for a run-of-the-mill kit when you can unleash your creativity and take your DIY electronics to the next level?
Key Takeaways
- Customizing the enclosure of a DIY electronics kit allows for personal style and creativity, as well as protection and organization of the electronics.
- Upgrading components can enhance the performance of the kit by optimizing power usage, improving stability, and adding additional features and capabilities.
- Adding LEDs and visual effects can create mesmerizing light patterns, indicate different states or conditions, and enhance the aesthetic appeal and interactivity of the kit.
- Incorporating wireless connectivity enables remote control and monitoring of the kit, offering convenience and enhanced functionality.
Personalize Your Kit With Custom Enclosures
You can personalize your DIY electronics kit by adding custom enclosures to give it a unique and professional look. Custom enclosures not only protect your electronic components but also allow you to showcase your own style and creativity.
One way to achieve this is by using custom decal designs. These decals can be designed to feature your favorite patterns, logos, or even your own artwork. By applying these decals to the surface of your enclosure, you can instantly transform the appearance of your electronics kit.
Another option for customizing your kit is to utilize 3D printed enclosures. With the advancements in 3D printing technology, it's now easier than ever to create custom enclosures that perfectly fit your electronic components. By designing and printing your own enclosures, you have complete control over the size, shape, and features of your enclosure. This allows you to tailor it to your specific needs and preferences.
In addition to the aesthetic benefits, custom enclosures also offer practical advantages. They can provide added protection against dust, moisture, and accidental damage. Furthermore, they can help organize and secure your electronics, preventing loose wires and components from cluttering your workspace.
Upgrade Your Components for Enhanced Performance
To enhance the performance of your DIY electronics kit, consider upgrading its components.
One way to optimize power usage is by replacing standard resistors with low-power ones. These resistors have higher precision and consume less energy, allowing for improved efficiency.
Additionally, you can explore alternative components such as capacitors with higher capacitance values. These capacitors store more charge and provide better stability, which is vital for high-performance circuits.
Another component to consider upgrading is the microcontroller. By replacing the stock microcontroller with a more advanced one, you can unlock additional features and capabilities. Look for microcontrollers with higher processing power and more input/output pins. This will enable you to build more complex projects and interface with a wider range of sensors and devices.
Furthermore, upgrading your kit's connectors can enhance its overall performance. Replace standard connectors with gold-plated connectors for improved conductivity and reduced signal loss. This is particularly important for projects that involve audio or high-speed data transfer.
Add LEDs and Other Visual Effects
Consider incorporating LEDs and other visual effects to enhance the aesthetic appeal and interactivity of your DIY electronics kit. Adding these features not only makes your project visually appealing but also allows for creative expression.
Here are some ways you can explore the creative uses for RGB lighting and integrate audio effects into your DIY electronics kit:
- RGB Lighting:
- Create mesmerizing light patterns by programming your LEDs to change colors and intensities dynamically.
- Use RGB lighting to indicate different states or conditions in your project, such as a change in temperature or the completion of a task.
- Audio Effects:
- Integrate a small speaker into your DIY electronics kit to add sound effects or music to your projects.
- Program your kit to respond to sound inputs, such as clapping or voice commands, triggering specific actions or animations.
Incorporate Wireless Connectivity for Remote Control
To enhance the functionality and convenience of your DIY electronics kit, it's time to explore the incorporation of wireless connectivity for remote control. By implementing IoT functionality for remote monitoring, you can easily keep track of your devices and their status from anywhere in the world. This allows you the freedom to check on your projects even when you're not physically present.
Integrating voice control into your DIY electronics kit takes convenience to a whole new level. With hands-free operation, you can control your devices simply by speaking commands. This eliminates the need for physical buttons or switches, giving you the freedom to interact with your projects in a more natural and intuitive way.
To achieve wireless connectivity for remote control, you'll need to integrate wireless communication modules such as Wi-Fi or Bluetooth into your DIY electronics kit. These modules allow your devices to connect to the internet or communicate with other devices wirelessly, giving you the freedom to control and monitor them from a distance.
Experiment With Advanced Circuitry and Programming Techniques
Experiment with advanced circuitry and programming techniques to expand the capabilities and functionality of your DIY electronics kit. By delving into the world of advanced robotics and IoT applications, you can take your projects to the next level. Here are some exciting ways to explore advanced circuitry and programming:
- Learn and implement advanced sensor integration: Incorporate sensors like accelerometers, gyroscopes, and proximity sensors to make your projects more responsive and interactive. By understanding how to connect and calibrate these sensors, you can create innovative projects that react to their environment.
- Master advanced programming languages and frameworks: Take your programming skills to the next level by learning advanced languages like C/C++, Python, or JavaScript. Explore frameworks like Arduino, Raspberry Pi, or Node.js to unleash the full potential of your DIY electronics kit.
- Experiment with machine learning and artificial intelligence: Dive into the fascinating world of machine learning and AI by incorporating these technologies into your projects. Train your devices to recognize patterns, make predictions, or even perform complex tasks autonomously.
Related posts:
 Best Ways to Learn Electronics Through DIY Kits
 How to Build a DIY Electronics Kit for Beginners
 How to Choose the Best DIY Electronics Kit for Beginners
 How to Design Your Own DIY Electronics Kit
 How to Turn Your DIY Electronics Kit Into a Functional Device
 DIY Electronics Kits Vs. Pre-Built Electronics: Which Is Better?