Are you someone who has always been fascinated by the inner workings of electronic devices? Have you ever wondered how circuits come together to create the technology we rely on every day? If so, you're not alone.
Learning electronics through DIY kits is a great way to satisfy your curiosity and gain hands-on experience in this exciting field. But where do you start?
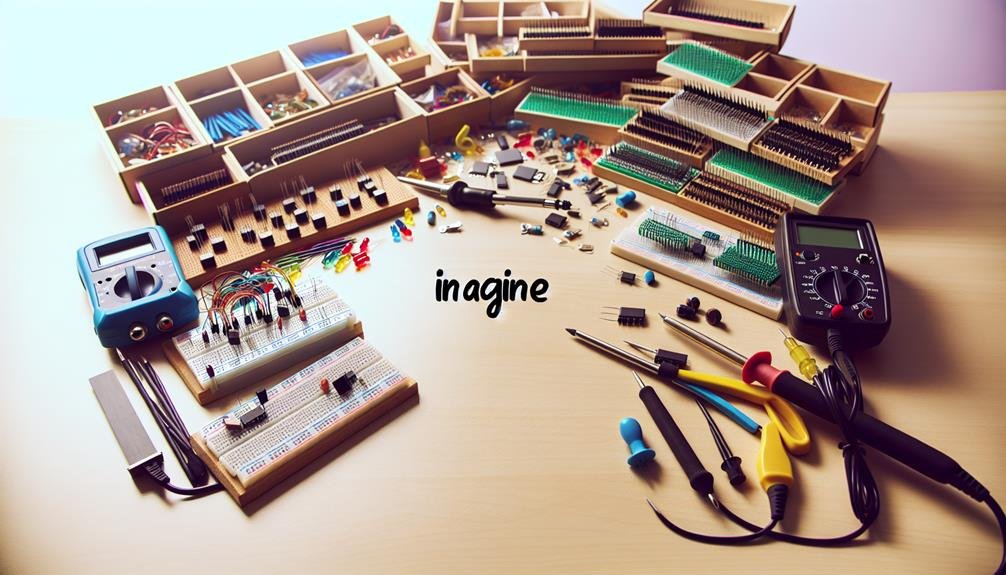
In this discussion, we will explore the best ways to dive into the world of electronics through DIY kits, from choosing the right kit to troubleshooting and problem-solving techniques.
So, whether you're a complete beginner or already have some knowledge, buckle up and get ready to embark on an electrifying journey.
Key Takeaways
- Consider the level of difficulty and align your interests and goals when choosing a DIY kit
- Look for kits with step-by-step instructions, necessary components, and comprehensive guides
- Master soldering techniques and prioritize safety when building simple circuits
- Explore advanced projects to learn advanced soldering techniques, programming microcontrollers, and unleash creativity
Choosing the Right DIY Kit
Are you looking for the perfect DIY kit to start learning electronics? There are plenty of DIY kit options available that can help you kickstart your journey into the world of electronics.
When choosing the right DIY kit, it's essential to consider your learning resources and goals.
One important factor to consider is the level of difficulty of the kit. If you're a beginner, it's advisable to start with a kit that offers step-by-step instructions and includes all the necessary components. This will ensure that you have a smooth learning experience and build your confidence in electronics.
Another aspect to consider is the learning resources provided with the DIY kit. Look for kits that offer comprehensive guides, tutorials, and online resources. These resources can help you understand the concepts and principles behind electronics and enhance your learning experience.
Additionally, consider the type of projects included in the kit. Choose a kit that aligns with your interests and goals. Whether you want to focus on robotics, circuit design, or programming, there are DIY kits available that cater to different areas of electronics.
Understanding Basic Electronic Components
Now that you have chosen the right DIY kit, let's dive into understanding the basic electronic components. To truly grasp circuit design principles and master soldering techniques, it is essential to have a solid understanding of the fundamental components that make up electronic circuits. Below is a table outlining the most common electronic components and their functions:
| Component | Function |
|---|---|
| Resistor | Limits the flow of current in a circuit |
| Capacitor | Stores and releases electrical energy |
| Diode | Allows current to flow in one direction |
| Transistor | Amplifies or switches electronic signals |
| LED | Emits light when current passes through |
Building Simple Circuits
To build simple circuits, you'll need to gather the necessary electronic components and follow a precise set of instructions. Building circuits can be a rewarding and empowering experience, allowing you to understand the inner workings of electronic devices and giving you the freedom to create your own inventions.
Here are three essential steps to building simple circuits:
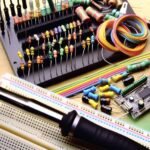
- Gather the components: Start by selecting the electronic components required for your circuit. These may include resistors, capacitors, diodes, transistors, and integrated circuits. Ensure you have the right values and types of components as specified in the circuit diagram or instructions.
- Follow safety precautions: Before you begin, it's crucial to prioritize safety. Make sure to work in a well-ventilated area, wear safety goggles, and avoid touching live wires. Always double-check your circuit for any potential risks, such as short circuits or incorrect wiring, before powering it on.
- Master soldering techniques: Soldering is a fundamental skill in building circuits. It involves joining components together using molten solder. Learn proper soldering techniques, such as heating the joint, applying solder, and ensuring a secure connection. Practice on a scrap board before attempting to solder components on your circuit.
Exploring Advanced Projects
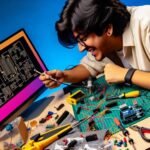
When venturing into the world of advanced electronics projects, it's important to approach them with a technical mindset and a methodical approach.
As you delve into more complex projects, you'll encounter advanced soldering techniques and the need for programming microcontrollers. Advanced soldering techniques, such as surface mount soldering and through-hole soldering, require precision and attention to detail. Surface mount soldering involves soldering components directly onto the surface of a circuit board, while through-hole soldering involves inserting components into holes on the board and soldering them on the other side. These techniques allow for smaller, more compact designs and greater circuit complexity.
Additionally, programming microcontrollers opens up a whole new world of possibilities. Microcontrollers are integrated circuits that can be programmed to perform specific tasks. By learning to program microcontrollers, you gain the ability to create custom functionality and control various electronic devices. This opens up a world of freedom and creativity, allowing you to bring your ideas to life.
Troubleshooting and Problem-solving Techniques
To effectively troubleshoot and solve problems in advanced electronics projects, it's crucial to employ precise and methodical techniques. Whether you're a beginner or an experienced DIY enthusiast, encountering common issues in your electronic circuits is inevitable. However, with the right approach and testing equipment, you can overcome these challenges and achieve the desired outcome.
Here are three essential troubleshooting and problem-solving techniques to help you navigate through any electronic project:
- Systematic Testing: Start by isolating the problem area and break down the circuit into smaller sections. Test each component individually to identify any faulty elements. This systematic approach allows you to pinpoint the exact issue and saves time in the troubleshooting process.
- Use of Multimeter: A multimeter is an indispensable tool for any electronics enthusiast. It enables you to measure voltage, current, and resistance, helping you identify any abnormalities in the circuit. By using the multimeter correctly and interpreting the readings, you can quickly diagnose and fix problems.
- Documentation and Collaboration: Keep a detailed record of your project, including circuit diagrams, notes, and any changes made. This documentation serves as a reference point for troubleshooting and allows you to track your progress. Additionally, engaging in online forums or seeking help from fellow DIYers can provide valuable insights and solutions to problems you may encounter.
Related posts:
 Best Ways to Customize Your DIY Electronics Kit
 DIY Electronics Kits Vs. Pre-Built Electronics: Which Is Better?
 The Ultimate Guide to Building DIY Electronics Kits
 Beginner's Guide to Building Circuits With DIY Electronics Kits
 DIY Electronics Kits for Arduino Enthusiasts
 DIY Electronics Kits for Building Wearable Technology