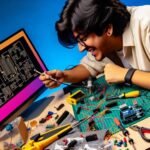
Are you tired of fumbling through your DIY electronics kits without the right tools? Look no further.
In the world of DIY electronics, having the right tools can make all the difference in your projects. From soldering irons to multimeters, wire cutters to breadboards, and screwdrivers to…well, you'll have to keep reading to find out the last must-have tool that will take your DIY electronics game to the next level.
Key Takeaways
- Soldering iron: Ensure proper temperature, tin the tip, hold like a pen, clean regularly.
- Multimeter: Calibrate for accuracy, measure voltage, current, and resistance.
- Wire cutters: Use wire strippers, strip only necessary insulation, work safely.
- Breadboard: Prototyping tool, establish connections, test with a multimeter if needed.
- Screwdriver: Choose the right type and size, apply even pressure, clean regularly, store properly.
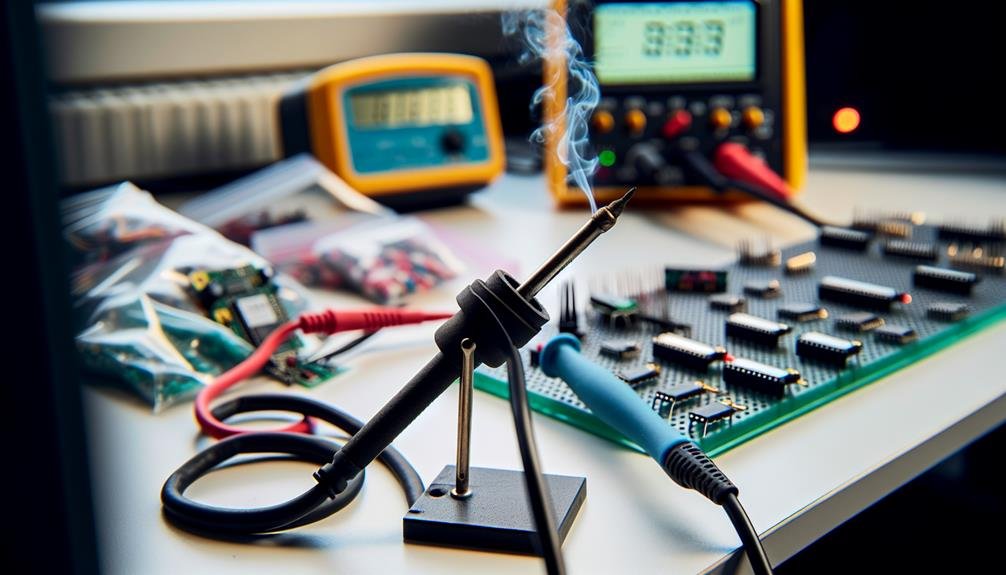
Soldering Iron
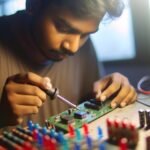
To effectively assemble DIY electronics kits, it's essential to utilize a soldering iron. Soldering is the process of joining two metal components using a heated soldering iron and a solder wire. For beginners, mastering basic soldering techniques is crucial.
Firstly, ensure your soldering iron is heated to the right temperature. Most soldering irons have adjustable temperature settings, allowing you to find the optimal heat for your specific project.
Secondly, always tin the tip of your soldering iron by applying a thin layer of solder. This improves heat transfer and prevents oxidation.
When soldering, hold the soldering iron like a pen and touch the tip to the joint. Once the joint heats up, feed the solder wire into the joint, ensuring it melts and flows evenly.
Finally, remember to clean the tip of your soldering iron regularly using a damp sponge or brass tip cleaner.
Choosing the right soldering iron for your DIY projects is vital. Consider the wattage of the soldering iron, as higher wattage provides faster heat-up times and better heat retention. For small electronics projects, a 30-40 watt soldering iron will suffice.
Additionally, pay attention to the type of soldering iron tip. Different tips, such as chisel, conical, and fine-point, have different applications. Chisel tips are ideal for larger joints, while fine-point tips work well for intricate soldering.
Lastly, invest in a soldering iron with temperature control, as it allows you to adjust the temperature based on the components you're working with. By following these guidelines, you can confidently select and use a soldering iron for your DIY electronics projects.
Multimeter
When working on DIY electronics kits, another essential tool to have is a multimeter. A multimeter is a versatile device that measures various electrical quantities such as voltage, current, and resistance. It is indispensable for troubleshooting techniques and ensuring the proper functioning of electronic circuits.
The importance of calibration cannot be overstated when using a multimeter. Calibration ensures the accuracy and reliability of the measurements taken by the multimeter. Regular calibration is necessary to maintain the precision of the readings. It is recommended to calibrate the multimeter annually or whenever there is a significant change in environmental conditions or if the device has been subjected to a mechanical shock.
Here is a table that summarizes the key features and functions of a multimeter:
| Feature | Function |
|---|---|
| Voltage measurement | Measures the potential difference between two points |
| Current measurement | Measures the flow of electric charge in a circuit |
| Resistance | Measures the opposition to the flow of electric current |
| Continuity test | Determines if a circuit is closed or open |
| Diode test | Checks the functionality of diodes in a circuit |
A multimeter is an indispensable tool for any DIY electronics enthusiast. It allows you to troubleshoot and diagnose electrical issues with precision and accuracy. Don't forget to calibrate your multimeter regularly to ensure reliable measurements.
Wire Cutters
Wire cutters are an essential tool for any DIY electronics enthusiast, allowing you to precisely and cleanly cut wires in your electronic projects. When working with wires, it's important to have wire cutters that are specifically designed for this purpose. These tools are available in various sizes and designs, but the basic function remains the same – to cut wires with accuracy and efficiency.
When using wire cutters, it's crucial to follow proper wire stripping techniques to ensure optimal results. Before cutting the wire, it's essential to strip off the insulation using wire strippers or a utility knife. This will expose the bare wire, allowing for a clean and secure connection. Be sure to strip off only the necessary amount of insulation to avoid damaging the wire or affecting its conductivity.
Safety precautions should always be taken when using wire cutters. Always wear safety goggles to protect your eyes from any flying debris. Additionally, it's advisable to work in a well-ventilated area to avoid inhaling any particles that may be released during the cutting process.
Breadboard
The breadboard is a versatile tool used in DIY electronics projects for quickly and easily prototyping circuits. It allows you to create temporary connections between components without the need for soldering.
The breadboard consists of a grid of holes, with metal strips running underneath the surface. These metal strips are used to provide electrical connections between the components. To make a connection, you simply insert the leads of the components into the holes on the breadboard. The metal strips underneath the holes will then establish the necessary connections.
This makes it easy to experiment with different circuit configurations and make changes on the fly. However, it's important to note that breadboard connections can sometimes be unreliable, especially if the components aren't inserted properly or if the breadboard is old and worn.
To troubleshoot any issues, double-check your connections and ensure that all components are properly seated in the breadboard. Additionally, you can use a multimeter to test for continuity and ensure that the connections are functioning as intended.
Screwdriver
To assemble and disassemble components in your DIY electronics projects, a screwdriver is an essential tool. There are different types of screwdrivers available to suit various needs. The most common types include flathead and Phillips screwdrivers. Flathead screwdrivers have a single flat blade that fits into the corresponding slot on the screw head, while Phillips screwdrivers have a cross-shaped tip that fits into the cross-shaped slot on the screw head.
It's important to choose the right screwdriver type and size to avoid damaging the screws or components.
When using a screwdriver, make sure to apply even pressure and turn in the correct direction to prevent stripping the screws. Additionally, it's crucial to maintain and care for your screwdriver properly. Clean the blade regularly to remove any dirt or debris that may affect its performance. Lubricating the blade with a small amount of oil can also help prevent rusting and ensure smooth operation.
Storing your screwdriver in a dry and safe place is essential to maintain its longevity. Avoid exposing it to extreme temperatures or moisture, as these can cause damage. Regularly inspect the handle for any cracks or signs of wear and replace it if necessary.
Related posts:
 DIY Electronics Kits Vs. Pre-Built Electronics: Which Is Better?
 The Ultimate Guide to Building DIY Electronics Kits
 Common Mistakes to Avoid When Using DIY Electronics Kits
 Beginner's Guide to Building Circuits With DIY Electronics Kits
 DIY Electronics Kits for Arduino Enthusiasts
 DIY Electronics Kits for Building Wearable Technology